How to install C/C++ in Visual Studio Code
Visual Studio Code is a free source-code editor made by Microsoft for Windows, Linux and macOS. Features include support for debugging, syntax highlighting, intelligent code completion, snippets, code refactoring, and embedded Git.
It currently supports hundreds of programming languages and file formats. Several common languages come supported by default (JavaScript, HTML, CSS, etc), and others gain support by adding integrated extensions. If you find a language that isn't supported by an existing extension, the open nature of the extensions system means you can build one.
In this blog post you will learn how to set up visual studio code on your local environment for C and C++, this can get tricky but if you follow step by step you can set it up easily.
Step 1: Download Visual studio code.
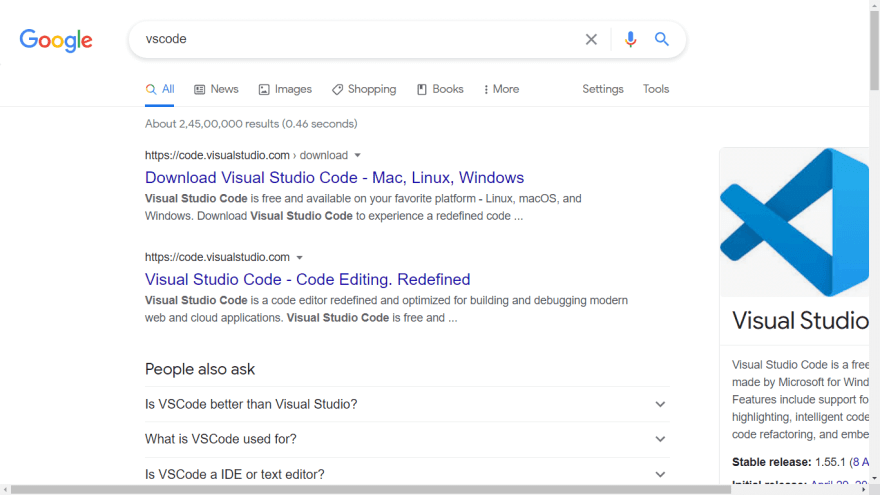
Type vscode on your browser and click on the first link of the page, or just click here.
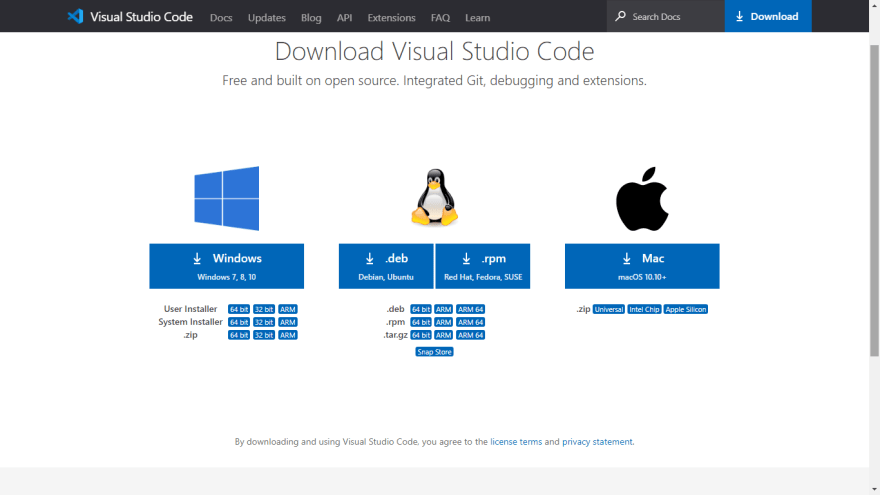
Now download the installer according to your operating system.
Step 2: Install vscode
This step is easy, accept the agreement and click next.
Check the following options as shown in above image and click next and install.
Step 3: Download extensions for visual studio code.
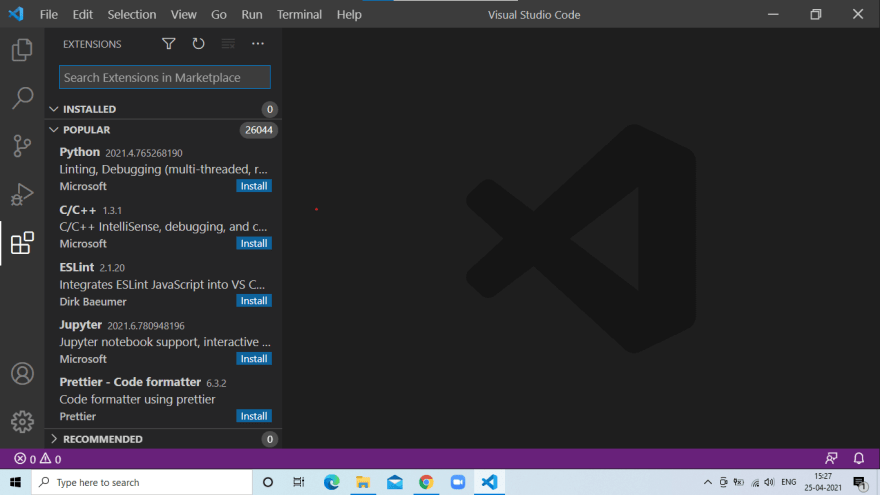
Once you have installed visual studio code, now its time to install some extensions. Click on the button where red arrow is pointing in above image.
Now click on C/C++ extension from Microsoft as shown in the below image. If you don't see the extension search C/C++ and you will find it.
Install the extension.
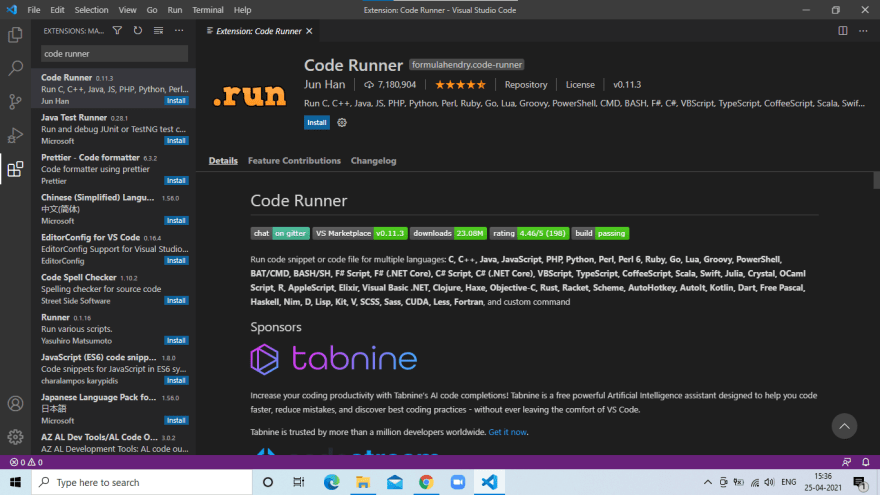
Now we have to install another extension called Code Runner.


Post a Comment